


Rain sensor glass repair is crucial for safe driving in bad weather. Assess damage—minor cracks may be fixed with resin, while severe cases require complete glass replacement. Gather tools including screwdrivers, pliers, hex keys, cleaning cloth, new sensors or parts, heat gun, and multimeter. Precision is key; test connections and functionality after installation to enhance wiper performance and safety.
“Unsure where to begin with your rain sensor glass repair? This comprehensive guide is tailored for complete beginners, offering a clear path to mastering this task. We’ll first demystify common rain sensor glass damage, helping you identify issues. Then, we’ll equip you with the essential tools and materials needed for the job. Subsequently, follow our easy-to-understand step-by-step process for a successful repair. By the end, you’ll be confident in tackling rain sensor glass repairs head-on.”
- Understanding Rain Sensor Glass Damage
- Tools and Materials for Repair
- Step-by-Step Guide to Rain Sensor Glass Repair
Understanding Rain Sensor Glass Damage

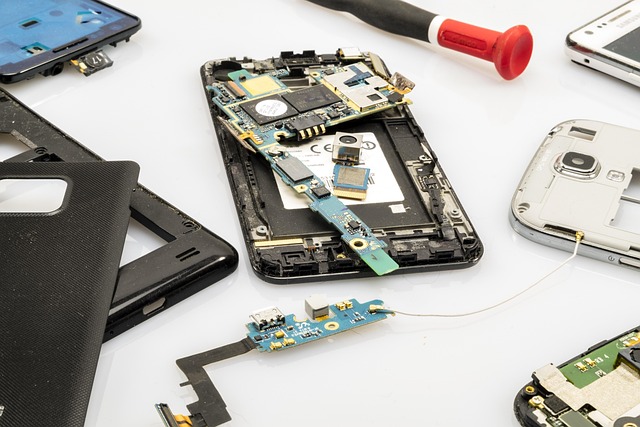
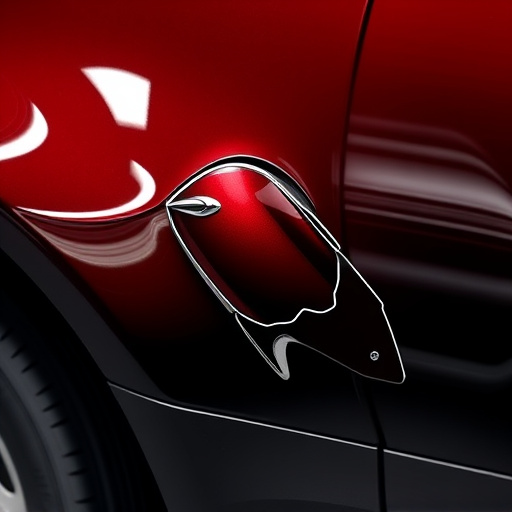
Rain sensor glass, also known as a rain-sensing wiper system, is an innovative feature in modern vehicles designed to enhance safety and convenience during adverse weather conditions. However, this sophisticated technology isn’t immune to damage, with one of the most common issues being cracks or chips in the glass itself. Such damage can arise from various factors, including debris impact, severe weather conditions, or even minor accidents.
When the rain sensor glass is compromised, it may no longer function optimally, leading to ineffective wiper operation and potentially affecting the overall safety of the vehicle. Understanding the extent of the glass damage is crucial before attempting any repair. Minor cracks or chips might be reparable through specialized resin injections, while more extensive damage may require a complete replacement. Professional car bodywork services or collision repair centers are equipped with the necessary tools and expertise to assess and address rain sensor glass repair needs, ensuring your vehicle’s safety and visibility during rainy conditions.
Tools and Materials for Repair

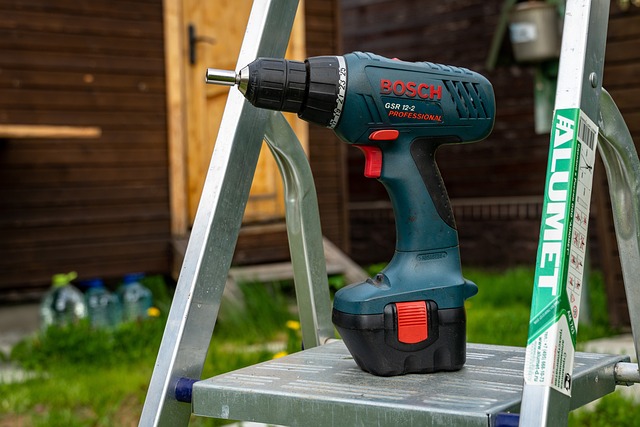
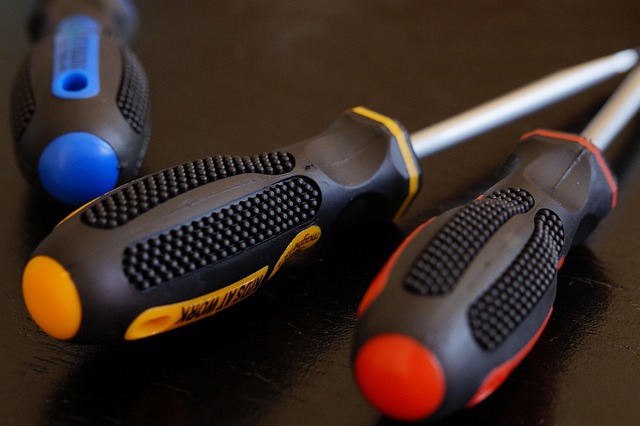
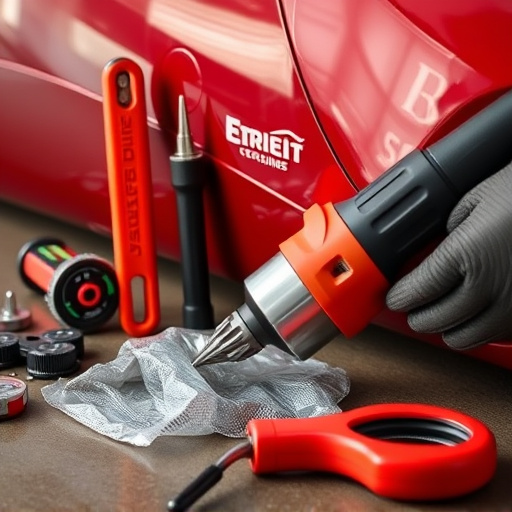
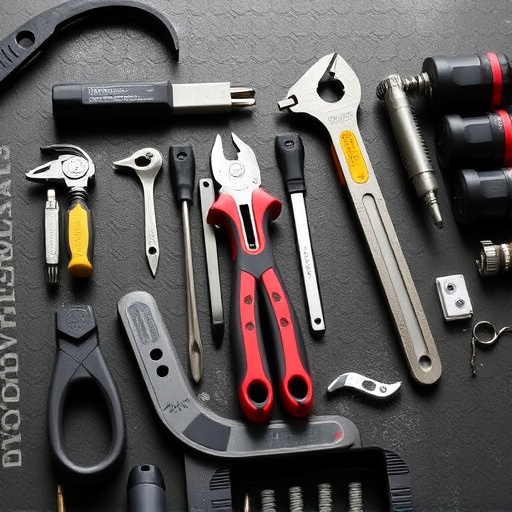
Before starting any rain sensor glass repair, ensure you have the right tools and materials to do the job effectively. For most car damage repair tasks, including rain sensor glass repair, a basic toolkit will suffice. This includes screwdrivers (both flathead and Phillips), pliers, a set of hex keys, and a soft cloth for cleaning. Additionally, you might need a new rain sensor glass or replacement parts, depending on the extent of the damage.
Remember that precision is key when dealing with sensors. Therefore, consider adding more specialized tools if needed, such as a heat gun for carefully removing old adhesive or a digital multimeter to test connections once the repair is complete. Unlike car dent repair which might require frame straightening, rain sensor glass repair focuses on replacing or realigning the sensor itself, ensuring your vehicle’s wipers function optimally in various weather conditions.
Step-by-Step Guide to Rain Sensor Glass Repair

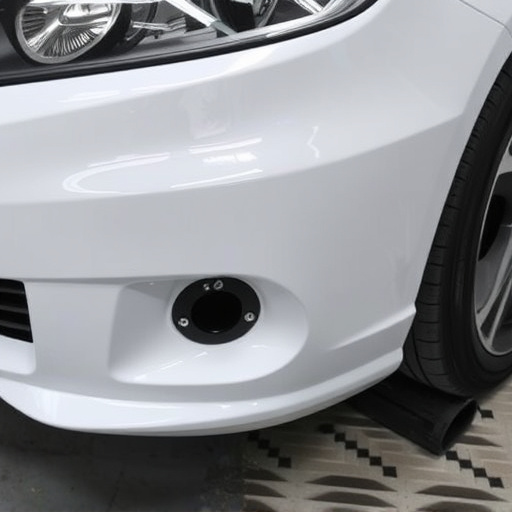
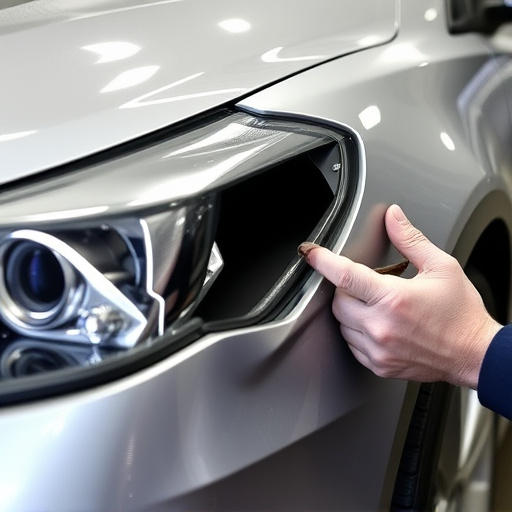
Repairing a rain sensor glass is a relatively straightforward process that many car owners can tackle themselves. Before beginning, ensure you have the necessary tools: a new rain sensor glass (obtained from a trusted auto parts supplier), a suction cup or adhesive for installation, and protective gear like gloves and safety glasses. Start by removing the old sensor using a suitable tool, being careful not to damage the surrounding vehicle bodywork. Once the old sensor is out, clean the area thoroughly to ensure optimal adhesion for the new glass.
Next, position the new rain sensor glass carefully in place, ensuring it aligns perfectly with the existing mounting holes. Secure it using either a strong suction cup or adhesive, following the manufacturer’s instructions precisely. After installation, test the sensor’s functionality by simulating rain conditions; this can be done by turning on your car’s wipers while observing if the sensor activates accordingly. If all functions correctly, you’ve successfully completed your rain sensor glass repair, enhancing your vehicle’s safety and driving experience through improved windshield wiper control.
Repairing a damaged rain sensor glass is an achievable task for any beginner, equipping you with the skills to tackle common issues. By understanding the potential causes of glass damage and having the right tools at hand, you can efficiently navigate through the repair process. Following the step-by-step guide ensures precise and effective results, allowing you to restore your rain sensor’s functionality. With these practical tips and a little patience, you’ll be well-prepared to handle future repairs, saving time and money while keeping your vehicle’s sensors in top condition.