

Rain sensor glass repair is a specialized automotive task requiring professional auto body services. Issues like malfunctions, misalignment, or physical damage can be addressed using advanced tools and techniques. Before attempting repairs, prepare your workspace, gather essential tools, and ensure optimal safety. The process involves removing old glass, cleaning the area, installing new glass, securing fastenings, testing functionality, and ensuring vehicle safety and performance. Always consult a professional for accurate and precise rain sensor glass repair.
“Discover how to expertly replace your car’s rain sensor glass without compromising its functionality. This comprehensive guide addresses common issues often encountered during repairs, ensuring a seamless process. From understanding the intricate rain sensor glass mechanism to gathering the necessary tools, we equip you with knowledge.
We provide a detailed step-by-step approach, allowing you to successfully install replacement glass while preserving the sensors’ integrity. Master the art of rain sensor glass repair and restore your vehicle’s safety features.”
- Understanding Rain Sensor Glass and Common Issues
- Preparation and Tools Required for Repair
- Step-by-Step Guide to Applying Replacement Glass Without Sensor Loss
Understanding Rain Sensor Glass and Common Issues

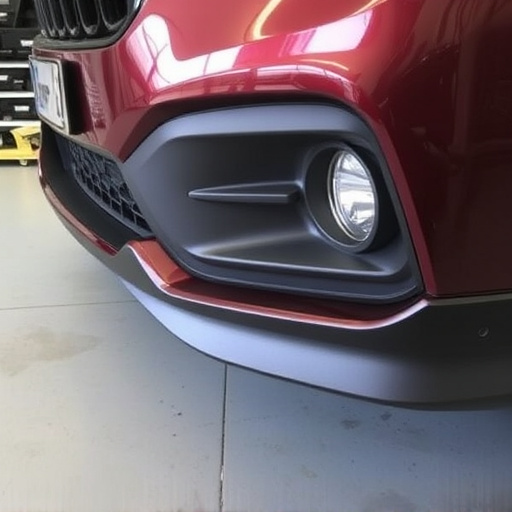
Rain sensor glass, a sophisticated feature found in modern vehicles, plays a crucial role in enhancing safety and comfort during adverse weather conditions. This advanced technology utilizes sensors embedded within the glass to detect precipitation, automatically adjusting window operations accordingly. However, like any intricate system, it is not immune to issues, leading many vehicle owners to consider rain sensor glass repair. Common problems include sensor malfunction, incorrect alignment causing false readings, and physical damage such as cracks or chips.
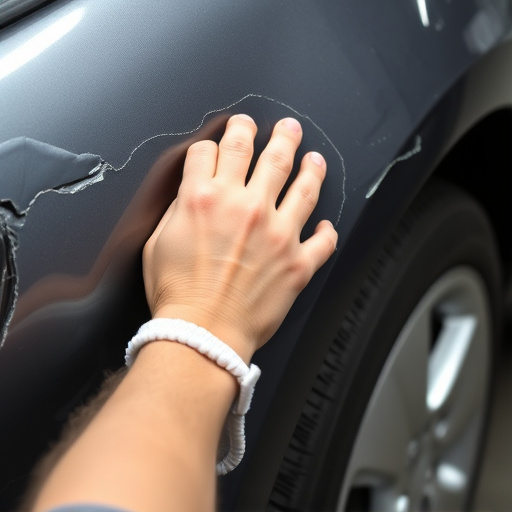
When addressing these concerns, it’s essential to approach the repair process with care. Improper handling or incorrect replacement parts can exacerbate existing problems. Auto body repairs specialists equipped with expertise in modern automotive collision repair techniques are best suited to handle rain sensor glass. They employ specialized tools and precision methods to ensure precise alignment and seamless integration of the replacement glass while minimizing sensor loss. Vehicle body shops offering these services not only restore functionality but also contribute to extending the lifespan of your vehicle’s safety features.
Preparation and Tools Required for Repair

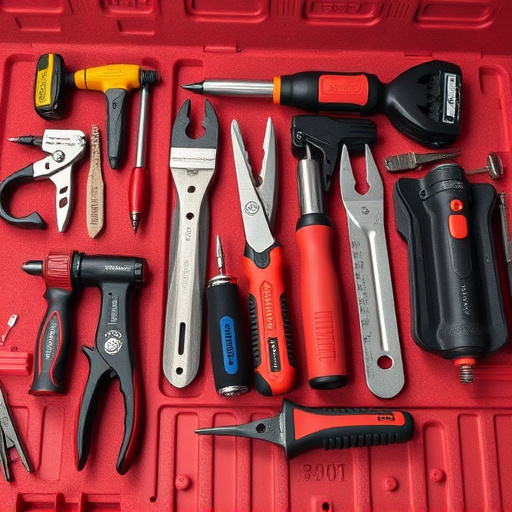
Before tackling any rain sensor glass repair, ensure you have all the necessary tools and materials to achieve a precise and successful outcome. This process requires specific equipment designed for delicate car collision repair and precision work. Gather the following items: high-quality replacement glass, suitable adhesive, applicator tools, protective gear (gloves, safety glasses), and a clean workspace with ample lighting.
A well-prepared environment is key to minimizing errors during the repair process. The right tools will enable you to handle the task efficiently, ensuring no sensor damage or loss occurs. Remember, proper preparation is half the battle won, especially when dealing with intricate car body repair and sensitive components like rain sensors.
Step-by-Step Guide to Applying Replacement Glass Without Sensor Loss

Replacing your car’s rain sensor glass without losing functionality can be a straightforward process if approached methodically. Here’s a step-by-step guide designed to help auto repair services and body shop services professionals complete the task efficiently, ensuring optimal performance of your vehicle’s sensors upon completion.
First, gather all necessary tools, including replacement rain sensor glass, gloves, and any specialized equipment specific to your car model. Park your vehicle on a level surface and engage the parking brake for safety. Turn off the ignition and allow enough time for any electronic components to cool down before proceeding. Remove the damaged or old glass carefully, taking note of its positioning and any sensors attached. Clean the area thoroughly, ensuring no debris remains that could interfere with sensor operation. Install the new rain sensor glass, aligning it precisely with the existing mounting points. Secure it in place using appropriate fasteners, being mindful not to overtighten. Double-check all connections for any signs of loose or damaged wiring. Once satisfied with the installation, test the sensors’ functionality by driving the vehicle at various speeds and conditions, including rainy weather, to ensure their reliable operation. Remember, proper rain sensor glass repair is crucial for maintaining optimal vehicle performance and safety.
Replacing your vehicle’s rain sensor glass without losing sensor functionality is achievable with the right knowledge and approach. By understanding common issues affecting rain sensors and preparing your workspace with the necessary tools, you can successfully complete this task. Following a step-by-step guide ensures precise alignment and secure attachment, maintaining the accuracy of your car’s rain sensing system. Remember, proper preparation and attention to detail are key to a successful rain sensor glass repair.