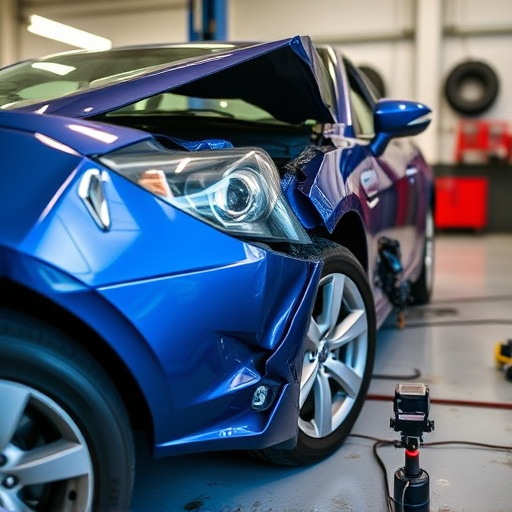


The rain sensor glass, a critical safety feature in modern vehicles, automatically adjusts windows to prevent water ingress and ensure clear visibility during rain. When damaged, proper rain sensor glass repair is essential for maintaining driving safety and comfort. This guide outlines the simple process: power off the vehicle, remove the old sensor, clean the housing, attach and align the new sensor using adhesive, then test its functionality. Meticulous preparation, a clean workspace, and following manufacturer guidelines ensure optimal performance alongside effective car maintenance practices.
“When it comes to maintaining the functionality of your device’s rain sensor glass, timely replacement and proper update application are crucial. This comprehensive guide delves into the intricacies of understanding and replacing a damaged rain sensor glass. From deciphering its vital role in detecting environmental conditions to a step-by-step repair process, we’ll navigate you through each phase. Furthermore, discover expert tips for effectively updating your sensor during the repair, ensuring optimal performance post-replacement.”
- Understanding the Rain Sensor Glass and Its Functionality
- Step-by-Step Guide to Replacing a Damaged Glass Sensor
- Tips for Effective Update Application During the Repair Process
Understanding the Rain Sensor Glass and Its Functionality

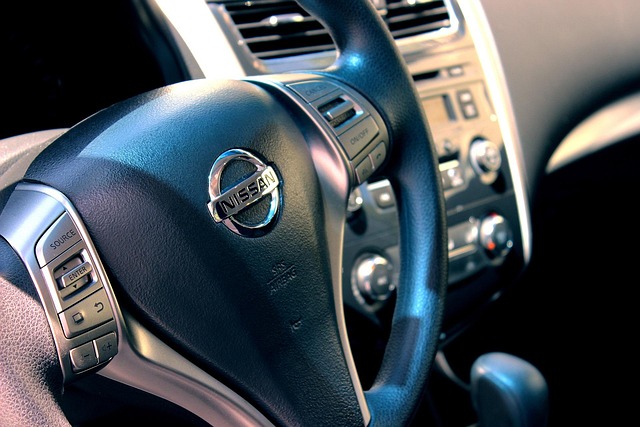
The rain sensor glass is a sophisticated component designed to enhance driving safety by automatically adjusting window settings based on weather conditions. This advanced technology detects rainfall and adjusts the vehicle’s windows accordingly, ensuring optimal visibility and comfort. It’s a key feature in modern vehicles, particularly those with advanced driver-assistance systems (ADAS). Understanding its functionality is crucial when undertaking any rain sensor glass repair or replacement, as it involves more than a simple auto glass repair.
The glass is equipped with sensors that monitor environmental conditions, primarily rainfall. When rain is detected, the system adjusts the window settings to prevent water from entering the vehicle while ensuring adequate visibility for the driver. This seamless integration of technology into the vehicle’s interior underscores the importance of proper rain sensor glass repair when this component fails or becomes damaged, which can significantly impact driving safety and comfort during adverse weather conditions.
Step-by-Step Guide to Replacing a Damaged Glass Sensor

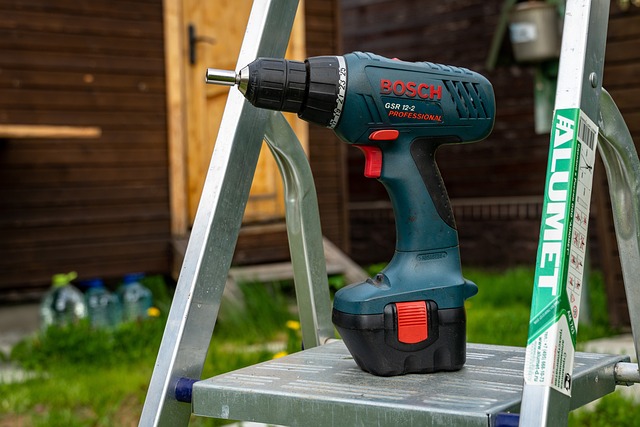
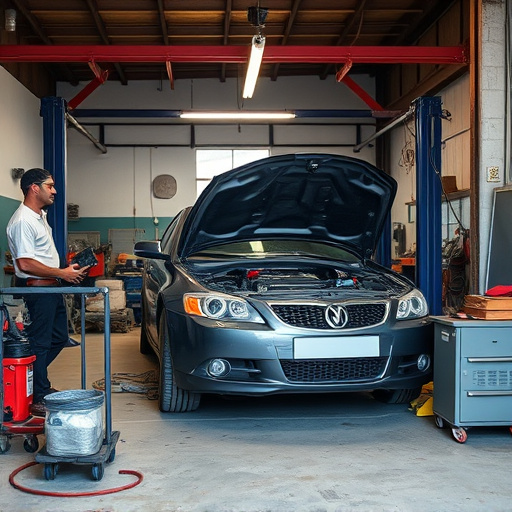
Replacing a damaged rain sensor glass is a straightforward process that can be completed with the right tools and a step-by-step approach. First, gather all necessary components, including a new rain sensor glass, adhesive, and any other required hardware. Next, power off the vehicle and consult the manufacturer’s manual for specific instructions. Begin by removing the old sensor, carefully prying it out from its housing using a flathead screwdriver. Once the sensor is removed, clean the housing to ensure no debris remains.
Apply a thin layer of adhesive to the back of the new sensor and gently position it into place. Press firmly for several seconds to allow the adhesive to set. While the adhesive dries, double-check all connections and make sure the sensor is properly aligned. After the adhesive has fully cured, test the rain sensor to confirm its functionality. If everything operates as expected, you’ve successfully completed a rain sensor glass repair, ensuring your car’s wipers activate during rainy conditions for optimal visibility.
Tips for Effective Update Application During the Repair Process

When undertaking a rain sensor glass repair, meticulous update application is paramount to ensure optimal functionality and performance. Before beginning the process, prepare your workspace by gathering all necessary tools and materials, including any specific updates or software patches designed for your model of car. A clean, organized space facilitates a smoother repair and reduces the risk of errors.
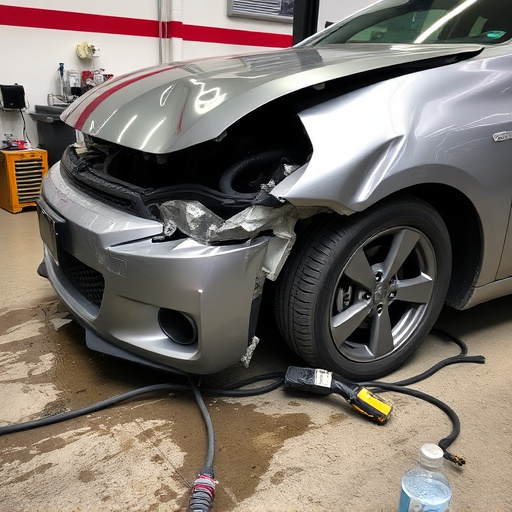
During the actual repair, carefully inspect the existing sensor for any debris or damage that could interfere with update installation. This step is crucial as it guarantees the updates will be accurately applied to a clean slate. Employing the right techniques and tools, follow the manufacturer’s guidelines diligently for updating the rain sensor. Remember, proper car body repair, auto frame repair, or even car scratch repair techniques can enhance the overall effectiveness of your update application process.
When replacing a damaged rain sensor glass, proper update application is crucial for optimal functionality. By following the step-by-step guide and incorporating the provided tips, you can ensure your repaired device performs just like new. Remember, attention to detail during the process, especially when updating the sensor, is key to achieving accurate weather detection and preventing future issues with your rain sensor glass repair.